
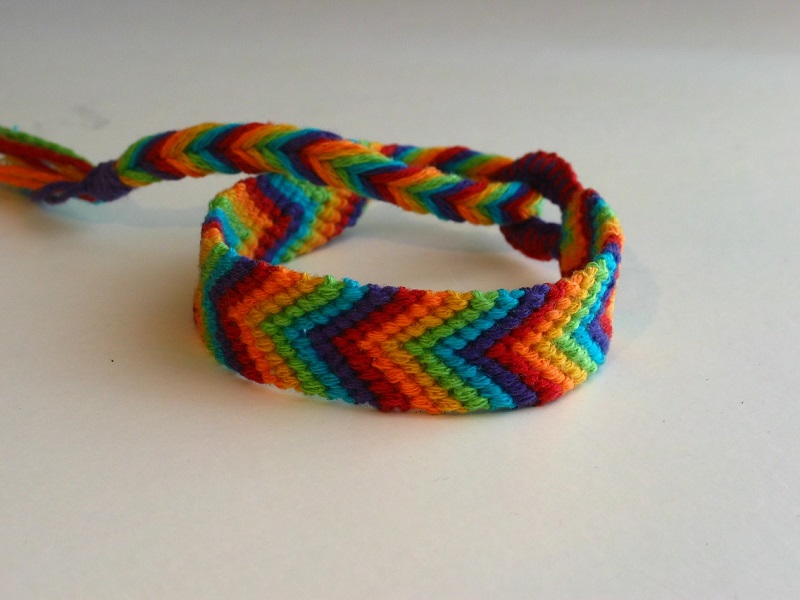
The bracelets of thread never go out of style and can vary depending on the points and knots used and colors, can be combined with many clothes and is a very entertaining activity for children and adolescents, both for own use and to give to friends or sell. If you want to know how to make bracelets at home with thread, keep reading on.
In this article, you will get step by step instruction and you will find all the information you need to make your own creations waxed thread, mouse tail, embroidery threads, leather, laces …, bracelets to which you can add different accessories in metal, wood and other materials to create personalized, unique and economic models.
MATERIALS:
Before indicating how to make bracelets at home with thread you need the following materials:
- Embroidery thread of colors, cord, leather or waxed thread.
- Metal or wood accessories.
- Scissors, cardboard, hook to hold.
HOW TO MAKE BRACELETS AT HOME WITH THREAD: INSTRUCTIONS
- For a four-strand cord bracelet, a thread of 1.50 m should be cut in the preferred color. From that thread is separated and cut 50 cm, leaving a remainder of 1 meter. These measurements can change depending on the width of the wrist, so it is always better to try another thread first to see how long it is needed. However, it is always preferable that it be longer to cut it later as needed.
- Fold each thread in half. In this way, you will have four strands, two of 25 cm in length and another two of 50 cm each. Tie a knot holding the four strands so that a 2 cm buttonhole is up. It is advisable to tie a thread around to form the buttonhole. You can leave only the knot or put an accessory. To make the point of the bracelet, the buttonhole must be fastened by hooking it to some element or by sticking it tightly, and the two shorter cords should be in the middle with tightness for which they can be attached with a ribbon to the work table.
- Afterward, the knots will start to be made, passing the cord on the left over the two central cords and then passing the cord on the right below the central cords and crossing it under the cord on the left. In this way, there will be a knot with the two central cords. They have to be adjusted firmly by pulling down the central cords and making the knot rise well.
- The second knot is made in an inverse way to the first, starting with the thread on the right and doing the same steps as before but from right to left. This is how the threads continue to alternate. The central serve as support for the knots only for what they are therefore shorter than the lateral ones. Once this process is finished you must introduce a ring or a final knot and cut the remaining threads.
Finally, to adjust it to the wrist, a knot must be made to the final threads so that a similar ball remains but a little larger than the buttonhole on the other end so that it can go through the buttonhole and not come out.
Now you know how to make bracelets at home with thread. Try it!!