
Platforms such as Netflix, Amazon or HBO have distanced us from the universe of technology. There are still many people who choose this path to see what type of multimedia content. Sometimes the files that we obtain are in our language, but in others, we have to go to the Internet in search of the desired subtitles.
Here a series of problems can arise, since not all the players understand the “.srt” files. That are the ones which make up the subtitles. In that case, what can we do to embed the subtitles in a video? There are two ways to do it: one easy and one very easy. Let’s explore 3 tools on how to add subtitles to a movie permanently.
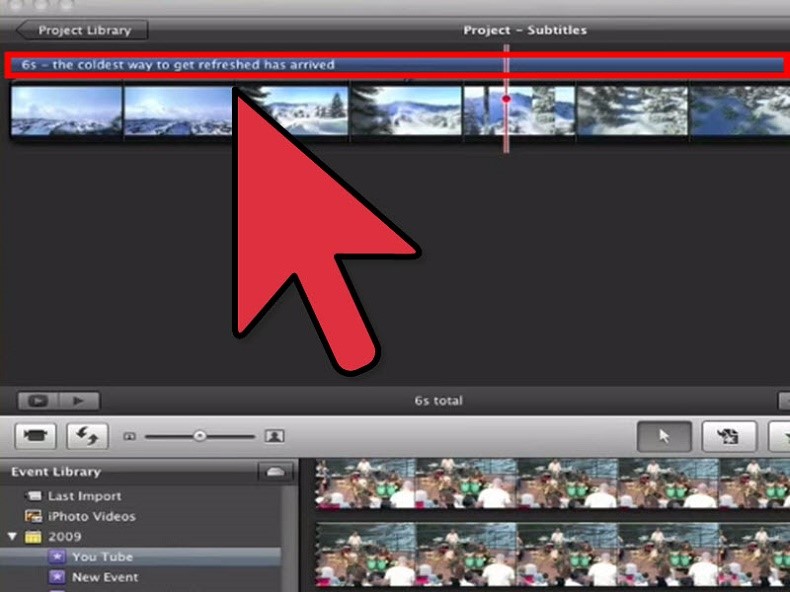
How to add subtitles to a movie permanently
The most famous and also the easiest way for the subtitles to integrate with the video is to give it the same name as this one. The only thing that will differentiate one file from another is the extension: while the video will be “.avi” (“or .mp4” …), the subtitle will be “.srt”.
The majority of media players and television sets understand that subtitles are part of the video and reproduce them. You can activate subtitles in Kodi.
Embed subtitles with a program
If you do not work with the previous method and you need to embed the subtitles in the video permanently or want to do it in a video generated by yourself, you can try some of the programs that we present below:
HandBrake
It is simple and free. HandBrake allows you to embed subtitles in a few steps. Once installed, we choose the option “File” in “Source Selection,” and we will look for the video file in which we want to place the subtitles. Within the option mix that is HandBrake, we have to open the “Subtitles” window and then click on “Import SRT,” from where we will search the PC for the subtitle file.
The file will open under “Foreign Audio Scan,” where we will have to make sure that the “Burn In” option is checked. Now, just choose in the field “Destination” the folder where we want the video to be saved and click on “Start Encode”. Wherever we have indicated to HandBrake, our video will be with the subtitles embedded.
Freemake Video Converter
Once downloaded, click on “File> Open video” and select the video file in which you want to place the subtitles. Now, look at the options of that video, since one of them should be “Without subtitles”. If you click on it, the desired function will be enabled: “Add subtitles.” We choose the “.srt” file and the profile that best suits our needs (AVI, DVD, MP4) and start the file recompression process.
Unfortunately, Freemake Video Converter was free in almost all its functions until a few months ago but recently added a paid version to the option to embed subtitles. It is not too expensive, but there are other options at no cost to our pocket.
PocketDivxEncoder
Simplicity to power up. PocketDivxEncoder is designed to embed subtitles. The first question of the program is where we are going to see our multimedia file. We select television in high definition and go to its main menu. Now we click on the “File to encode” folder and select the video file. Once we have it, a second option will be enabled next to the folder with the letters ABC, from which we will look for the file “.srt” to embed.
These 3 tools let us define the font and size of the subtitles. If that is your only file, finally click on “Encode Now” and the subtitles and video will be joined in sacred marriage. Keep in mind that the program also allows you to add several subtitles to videos at the same time. When you have a completed option, click on “Add to the list” and add your other files. In the end, click on “Encode All,” and all the files will join together magically.