Plumbing issues can disrupt any home, and leaks in wye fittings are a common culprit. These essential components direct water flow in drainage systems, but when they fail, they can cause water damage and costly repairs. At New House Project, we understand the frustration of dealing with plumbing leaks. This article provides a step-by-step guide to troubleshooting leaks in wye fittings, helping homeowners identify and fix issues efficiently. By addressing problems early, you can save time, money, and stress while keeping your plumbing system in top shape.
Understanding Wye Fittings
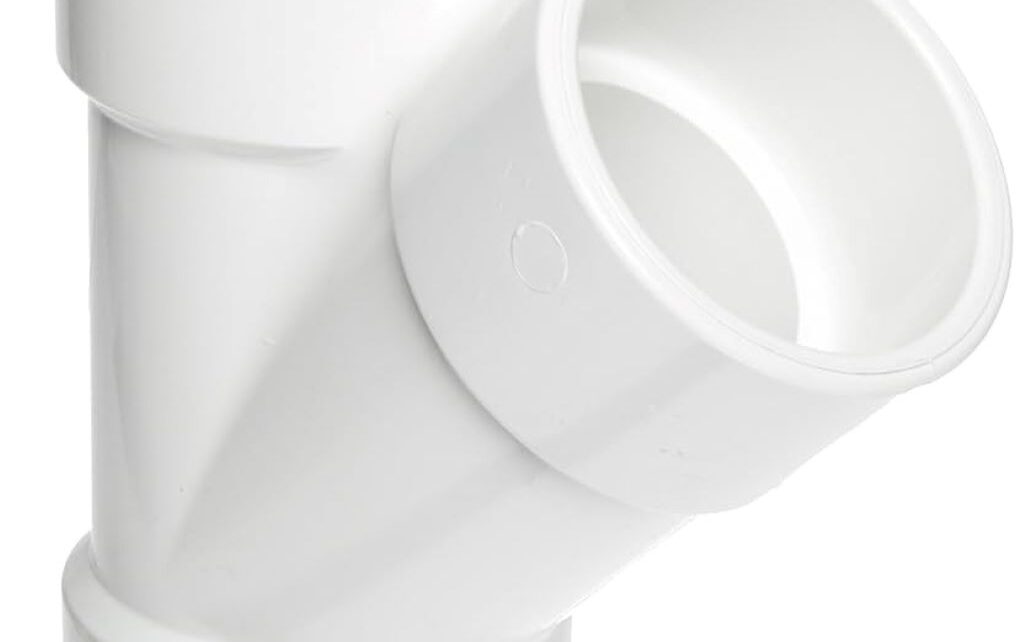
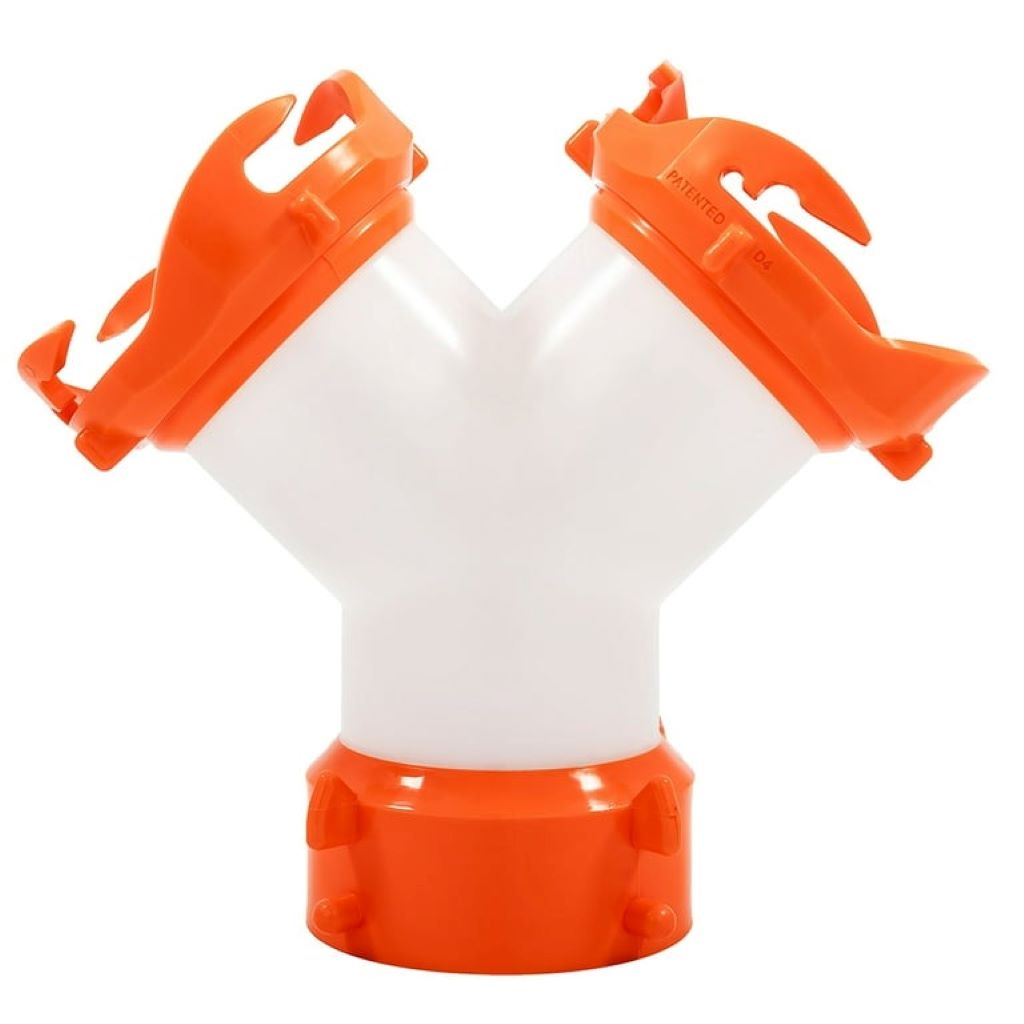
A wye fitting is a Y-shaped plumbing component used to connect pipes at an angle, typically in drainage or venting systems. Its unique design allows water or waste to flow smoothly from one pipe to another, reducing clogs and maintaining efficient drainage. However, leaks can develop due to improper installation, wear, or material failure. To learn more about the wye fitting and its various types, New House Project offers detailed insights into their uses and specifications. Understanding the role of wye fittings is the first step to diagnosing and resolving leaks.
Common Causes of Leaks in Wye Fittings
Leaks in wye fittings often stem from a few common issues. Identifying the cause is critical to applying the right fix. Here are the primary reasons leaks occur:
- Loose Connections: Over time, fittings can loosen due to vibrations or pressure changes, allowing water to seep out.
- Damaged Seals: Gaskets or O-rings inside the fitting may wear out, leading to leaks at the joints.
- Cracks or Corrosion: Aging fittings, especially those made of metal, can crack or corrode, compromising their integrity.
- Improper Installation: Incorrectly installed fittings may not align properly, causing leaks at connection points.
- Clogs or Pressure Buildup: Blockages can increase pressure within the system, forcing water through weak spots.
By pinpointing the cause, you can choose the most effective solution and prevent future leaks.
Tools and Materials Needed for Troubleshooting
Before tackling a leak, gather the necessary tools and materials. Having everything on hand saves time and ensures a smooth repair process. Here’s what you’ll need:
- Adjustable wrench or pipe wrench
- Screwdriver
- Pipe brush or cloth
- Replacement gaskets or seals
- Pipe tape (Teflon tape)
- Pipe sealant or epoxy
- Replacement wye fitting (if needed)
- Bucket and rags for cleanup
With these tools ready, you’re equipped to inspect and repair the wye fitting efficiently.
Step-by-Step Guide to Troubleshooting Leaks
Step 1: Turn Off the Water Supply
Safety comes first. Locate the main water shut-off valve and turn it off to prevent water flow during repairs. This step avoids water loss and makes it easier to work on the fitting. Place a bucket under the fitting to catch any residual water.
Step 2: Inspect the Wye Fitting
Examine the wye fitting closely for visible signs of damage, such as cracks, corrosion, or loose connections. Run your hand along the fitting to feel for moisture, which indicates a leak. Check the surrounding pipes and joints as well, as the leak may originate from a nearby component. If the fitting appears damaged, replacement may be necessary.
Step 3: Tighten Loose Connections
If the fitting is loose, use an adjustable wrench to tighten the connections. Be careful not to overtighten, as this can damage the fitting or strip the threads. Test the system by briefly turning on the water to see if the leak persists. If it does, proceed to the next step.
Step 4: Replace Damaged Seals or Gaskets
Worn seals or gaskets are a common cause of leaks. Disassemble the fitting by unscrewing it from the pipes. Remove the old gasket or O-ring and replace it with a new one of the same size. Apply pipe tape to the threads before reassembling to ensure a tight seal. Reconnect the fitting and test for leaks.
Step 5: Address Cracks or Corrosion
If the wye fitting is cracked or corroded, replacement is often the best solution. Remove the damaged fitting by loosening the connections and install a new one. Ensure the new fitting matches the pipe size and material for compatibility. For temporary fixes, pipe sealant or epoxy can patch small cracks, but this is not a long-term solution.
Step 6: Clear Clogs or Blockages
A clog can increase pressure and cause leaks. Use a pipe brush or cloth to clean the inside of the fitting and connected pipes. If the clog is severe, consider using a drain snake or consulting a professional plumber. Clearing blockages restores normal water flow and reduces strain on the fitting.
Step 7: Test the Repair
Once repairs are complete, turn the water supply back on and check for leaks. Run water through the system for a few minutes and inspect the fitting for drips or moisture. If the leak is resolved, clean up the area and monitor the fitting over the next few days to ensure the fix holds.
Preventing Future Leaks in Wye Fittings
Prevention is key to avoiding costly repairs. Regular maintenance can extend the life of your wye fittings and keep your plumbing system running smoothly. Consider these tips:
- Inspect Regularly: Check fittings annually for signs of wear, corrosion, or loose connections.
- Use Quality Materials: Invest in high-quality wye fittings made from durable materials like PVC or brass.
- Avoid Overloading the System: Prevent clogs by avoiding flushing non-degradable items down drains.
- Hire Professionals for Installation: Proper installation by a licensed plumber reduces the risk of leaks.
For more plumbing maintenance tips, reputable sources like This Old House offer valuable advice for homeowners.
When to Call a Professional
While many leaks in wye fittings can be fixed with DIY methods, some situations require professional help. If the fitting is severely damaged, the leak persists after repairs, or the plumbing system is complex, contact a licensed plumber. Additionally, if you’re unsure about the cause of the leak or lack the tools for a proper repair, a professional can diagnose and fix the issue efficiently. Websites like Angi can help you find trusted plumbers in your area.
Conclusion
Troubleshooting leaks in wye fittings is a manageable task with the right approach. By understanding the role of wye fittings, identifying common causes of leaks, and following a step-by-step repair process, homeowners can address issues effectively. Regular maintenance and proper installation further reduce the risk of future leaks. Whether tightening a loose connection or replacing a damaged fitting, taking action early prevents water damage and costly repairs. With the tips provided, you can keep your plumbing system in excellent condition and avoid the hassle of persistent leaks.
Frequently Asked Questions
- What is a wye fitting used for in plumbing?
A wye fitting connects pipes at an angle, typically in drainage or venting systems, to ensure smooth water or waste flow.
- Can I repair a cracked wye fitting without replacing it?
Small cracks can be temporarily sealed with pipe sealant or epoxy, but replacing the fitting is the best long-term solution.
- How do I know if my wye fitting is leaking?
Look for signs like water stains, dampness, or dripping near the fitting. A pressure test can also confirm a leak.
- What materials are wye fittings made from?
Wye fittings are commonly made from PVC, brass, or cast iron, depending on the plumbing system’s requirements.
- How often should I inspect my wye fittings?
Inspect wye fittings annually for wear, corrosion, or loose connections to catch potential issues early.
Read More: