Water damage is a common household problem caused by various reasons such as leaky pipes, floods, or malfunctioning dishwashers. If your cabinet bottom has been affected by water damage, there’s no need to worry. In this guide, we will provide you with step-by-step instructions on how to fix the soggy cabinet bottom and restore your kitchen, or any other room, to its former glory. So, take a deep breath, and let’s get started!
Assessing the Damage
First things first, let’s assess the situation. Is the damage extensive, or is it just a small area that’s affected? If it’s a minor case, you might be able to tackle it yourself. However, if you’re dealing with significant damage, it’s best to call in the professionals. They have the expertise and tools to handle the job effectively.
Safety First
Before you dive in, make sure to turn off the power in the affected area. Water and electricity don’t mix well, and your safety is our top priority. If your cabinet houses any electrical appliances, unplug them and remove them from the area.
Remove the Water
Time to get rid of that pesky water. Grab some towels, a wet/dry vacuum, or a mop to soak up as much water as possible. The sooner you do this, the better. Lingering moisture can lead to mold and further damage.
Let it Dry
Once you’ve removed the excess water, let the cabinet bottom dry out completely. You can use fans or dehumidifiers to speed up the process. Patience is key here; rushing into repairs before everything is dry can lead to more problems down the road.
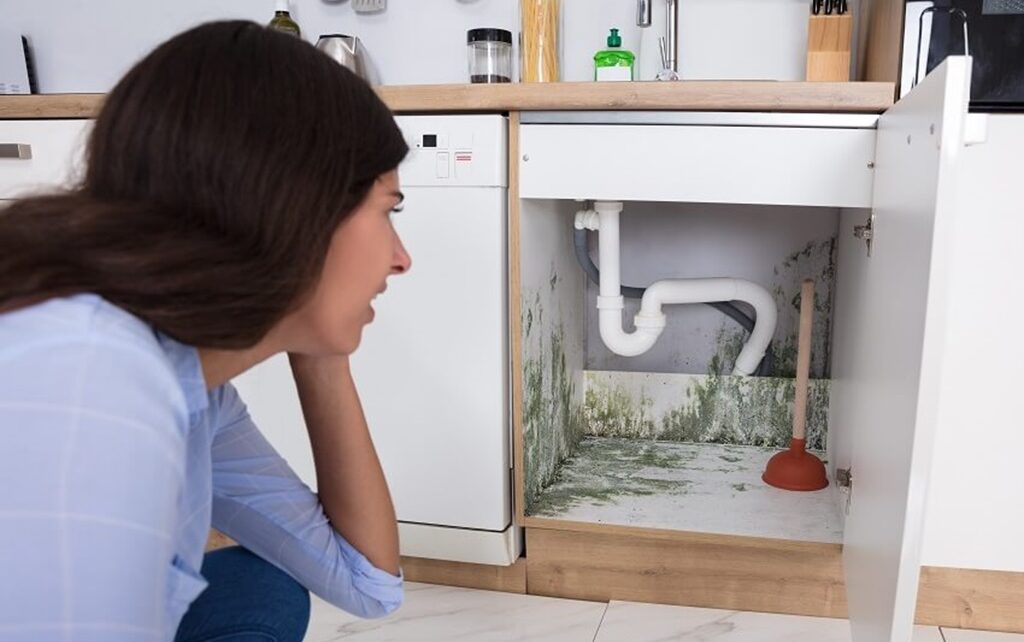
Inspect for Mold
Mold loves damp places, so it’s essential to check for any signs of mold growth. If you spot mold, don’t panic. You can create a solution of water and mild detergent to clean the affected area. However, for extensive mold growth, it’s best to call in mold remediation professionals.
Assess the Damage Again
Now that everything is dry and mold-free, take another look at the cabinet bottom. Is it salvageable, or do you need to replace it? If the damage is beyond repair, it’s time to roll up your sleeves and get ready for some DIY cabinet installation.
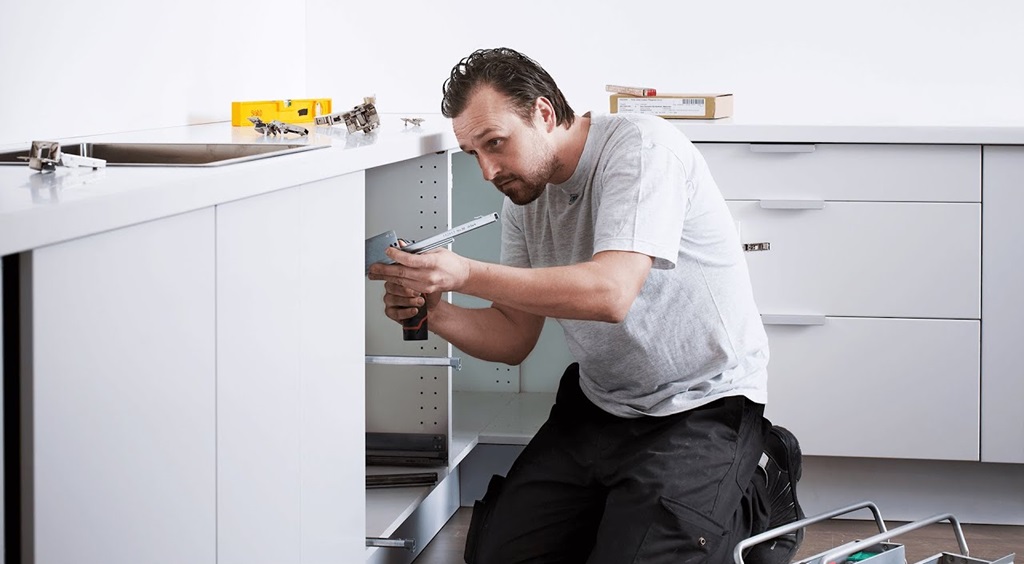
DIY Cabinet Repair
If you’re feeling handy, you can replace the damaged cabinet bottom yourself. Start by measuring the dimensions of the damaged area. Head to your local home improvement store and purchase a replacement board of the same size and material as the original.
Next, carefully remove the damaged cabinet bottom. You might need a saw, a pry bar, and some elbow grease for this step. Once the old board is out, slide the new one into place, ensuring it fits snugly.
Seal and Paint
To prevent future water damage, seal the new cabinet bottom with a waterproof sealant. This will add an extra layer of protection against potential leaks. Once the sealant is dry, paint or stain the cabinet to match the rest of your kitchen. Voila! Your cabinet is as good as new.
FAQs
Q1: Can I repair a water-damaged cabinet bottom myself?
A1: Yes, if the damage is minor. However, for extensive damage, it’s best to consult professionals.
Q2: How can I prevent water damage in the future?
A2: Regularly check for leaks, maintain your plumbing, and consider installing water leak detection devices.
Q3: Is it necessary to replace the entire cabinet if the bottom is damaged?
A3: Not always. If the damage is localized, you can replace the damaged section without replacing the entire cabinet.
Q4: How long does it take for a water-damaged cabinet bottom to dry completely?
A4: It depends on the extent of the damage and the drying methods used. It can take anywhere from a few days to a couple of weeks.
Q5: Can I use a dehumidifier to dry out the cabinet?
A5: Yes, a dehumidifier can help speed up the drying process by removing excess moisture from the air.
If you’re dealing with water-damaged cabinet bottoms, don’t worry! We’ve got you covered with this comprehensive guide to repair water damaged cabinet bottom. Just remember, safety should always be your top priority. Take your time, follow the steps carefully, and don’t hesitate to reach out for professional assistance if needed. With these tips, you’ll be able to successfully repair your cabinet bottoms and get them looking like new again.