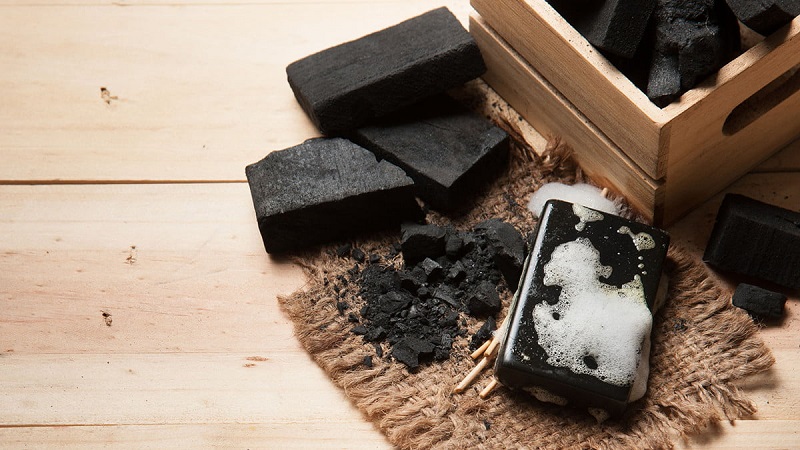
It is one of the most requested products for face care, as it has cleansing and detoxifying capabilities. We present two recipes for making activated charcoal soap.
It is a black, odorless, and thin substance. In appearance, it is similar to common coal, but the difference is that it is activated by heating peat, sawdust, lego, or coconut husks at high temperatures.
Preparing it sounds complex, but it’s easier than it sounds. In the following lines, we explain how to make activated carbon soap at home.
Benefits of activated charcoal soap for the skin
Those who use it confirm that, in addition to cleaning, it is able to eliminate stains, free pores, and control grease. Leaves the face shiny and improves the appearance of the skin. Other benefits it contains are:
It is suitable for all skin types: although its effectiveness depends on the use made of it, activated charcoal is not exclusive to a specific skin type. In the oily ones, it neutralizes the excess of oils, while in the dry ones it moistens and moisturizes.
Reduces the size of pores: dirty skin is the consequence of the accumulation of bacteria. Many solve this problem with this soap because it dries deeply.
Delays aging: It is thought to soften the expression lines and firm the dermis making it younger.
Fights Acne: Acts like a magnet and captures acne-causing bacteria. It also eliminates the fat that blocks pores and causes bubbles to escape. The pimple effects are the reason why it is chosen by many.
Prevents Infections: It is recommended to use it to detoxify and prevent infections caused by the toxic vapors we are exposed to on a daily basis.
Spot Reduces: This contains a tightening formula that can help eliminate sun spots, acne scars, or other facial depigmentation.
Eliminates odors: thanks to the antibacterial property it fights the bad odor that the pores clogged by microorganisms generate.
You may also like to read, how to make a facebook post shareable. To know more visit our Home blog https://trendsmagazine.net/a>.
How to make activated charcoal soap?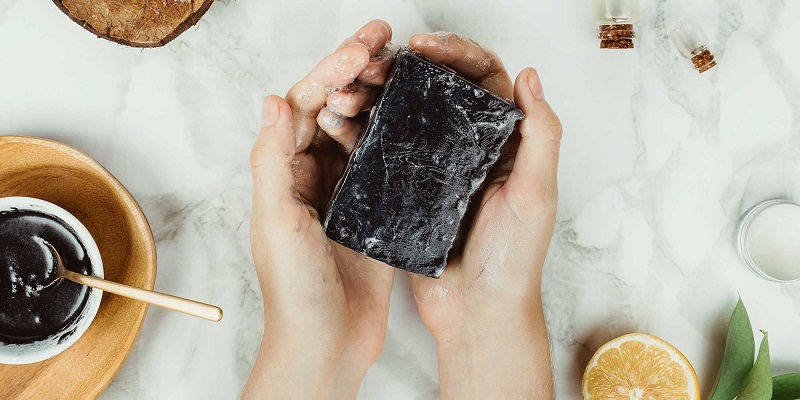
Given the many benefits, you will surely want to try it. Here are 2 ways to make activated charcoal soap at home. Before starting work, check that the charcoal for the recipe is cosmetic and that you have: containers, gloves, and protective glasses.
Method with glycerin
Ingredients
- Cosmetic activated carbon (5 grams).
- Sulfate-free glycerin (500 grams).
- Essential oil (whatever you prefer, 10 drops).
- Coconut oil (1 tablespoon).
- Shea butter (1 tablespoon).
Method
- Divide the glycerin into small pieces and melt it in a double boiler, stirring with a wooden spoon. It must not boil. Then combine the coconut and shea oil in another container.
- Dilute the glycerin, add the oil and shea mixture while continuing to mix. When you feel that there are no lumps, add the essence, mix, and turn off the heat.
- Let it cool for a few minutes and turn the mixture into a mold; let it solidify at room temperature for at least 5 hours.
- Remove from the mold. Your activated charcoal soap is ready.
Method with oils
Ingredients
- Powdered cosmetic activated carbon (10 grams).
- Caustic soda (113.5 grams).
- Demineralized water (292 grams).
- Cocoa butter (150 grams).
- Babassu oil (200 grams).
- Olive oil (500 grams).
- Tea tree oil, geranium and lemon oil (10 drops each).
- Sodium hydroxide.
To handle caustic soda some precautions are necessary to avoid injury to the skin and mucous membranes.
The procedure of the method with oils
- Dissolve the caustic soda in demineralized water and leave it in a ventilated area.
- Heat the cocoa butter and the Babassu and olive oils over low heat. When it reaches 55 degrees centigrade, add the diluted soda and mix everything with a blender at medium speed.
- Add the charcoal and essential oils while continuing to mix
- Invert the mixture into a mold and wait for it to harden before removing it.
- Cut it into several pieces and let it saponify for 40 days in a ventilated place. After this time, the soap is ready.