Compact discs (CDs) have been displaced in the computer world for many years. Not only in multimedia content, where downloads are successful with fiber optic broadband connection, but also in different sections of computing. There are many options that without discrediting the CD we can have better qualities BIOS configuration. In this article, we will discuss how to boot from a USB storage.
Reasons to boot from a USB
There are many reasons why you may want to boot from a USB, either a flash memory (pendrive) or an external hard drive. Among them is the power to make use of a live version of an operating system, being able to use it without having to perform an installation, being able to enjoy another OS no matter which one is installed. Another of the many uses lies in using it to format a computer, storing all the necessary files for installation in the USB device.
It is important to know that in order to boot from a USB it is necessary to be patient. Depending on how you start the equipment, as it also matters the type of device used, it may take more or less time to perform the boot. It can take up to 20 minutes to start the equipment.
How to boot from a USB device
Getting the computer to turn on using the information on a USB stick is really simple. Just follow a few steps that we show you below.
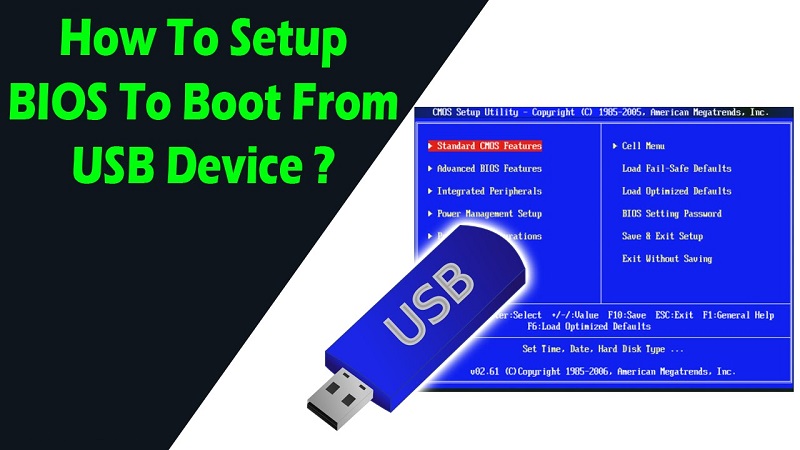
1. Change the selection order in the BIOS to first choose the USB port to start the computer. While there are teams that bring this configuration, it is very rare to find a BIOS configured in this way by default.
In the case that the option to boot from the USB is not in the first position, the PC will start normally, without even consulting the information that is available in the USB to be able to carry out the start from said unit.
It should be borne in mind that the name assigned to the option may vary depending on the type of BIOS you have. Some indicate the option to boot from a USB such as USB or removable devices. However, in some cases, you can find a somewhat more confusing option such as Hard Drive. Try the different options until you find the one that works on your plate.
Attention: After having indicated that the boot is carried out from the USB port, the equipment will consult said port each time it is started. In the event that you leave the device connected, every time the device is started, it will access it. Do not forget to replace the previous parameters in the order of start to restart the computer from the internal hard drive.
2. Connect the device to the computer in any available USB port. Previously, you must have created the device in a way that is bootable. Achieving it is, in itself, an important task. In the case of not doing it correctly, the team will not read the unit.
3. Restart the computer
4. Wait for a message to appear on the screen indicating that you press any key to be able to start from the USB device. In some teams, they report that you have to press any key to be able to carry out the process. In the case that said text is displayed and no key is pressed, the PC will start in the normal way so it will have to restart the computer again.
Attention: In the majority of the equipment does not appear this message (except when it starts from a CD), so the boot is done automatically.
5 Your computer should boot from the USB memory or the external disk that has been connected to the computer.
What to do when the USB does not boot?
It is possible that, in spite of following all the steps that we have given you, your computer does not start from the USB memory that you have connected to your computer. There are several reasons why this may happen. Here are some of the possible solutions to know how to boot from a USB.
- Look again at the start order in the BIOS. Repeat the first step. In some BIOS, after trying the boot a first time, the start order is reset so that the equipment does not remain in a loop. In this case, you will have to access the BIOS and modify the order again.
- There is no option available to select a “USB Device”. Depending on when the equipment was developed, that option may not be available in the BIOS. Do not forget that in some equipment you can find this option with names like “Removable devices” or “External devices”.
- Disconnect other USB devices. Some may cause confusion in the team, in trying to access other connected devices that do not have the ability to bounce (in addition to not have the content you want to start on the computer).
- Switch to another USB port. The device may not boot the device because the USB port is damaged, or because the motherboard only consults a few ports. In that case, the simplest thing is to connect the device to another available USB port, and you know it works correctly.
- Copy the files again. Are you sure you have placed the files correctly? Is the device really bootable? Carry out the process of copying the files again. In order to create a bootable USB, you do not just have to copy the files to it. The process is carried out with some programs that are responsible for generating a file that indicates that the device can be started from the BIOS.


